Gerald from Chile put together a really very nice arcade cabinet project that he sent me to share with everyone. Be sure to take a closer look at the arcade graphics on the cabinet :) Thanks Gerald!
![]()
Gerald's quest for a cabinet started from the moment he first laid eyes on MAME. A day after graduating, he tracked down an old Tetris cabinet made in Chile. He explained his project to the guy he bought it from, who didn't believe him... Sound familiar? The results are slick ... :)

![]()
The Artwork
A friend of Gerald's helped him
with the artwork for the cabinet. The original cabinet was in fairly
bad shape, so Gerald redid the artwork with some custom graphics...
(Click for a larger view) |
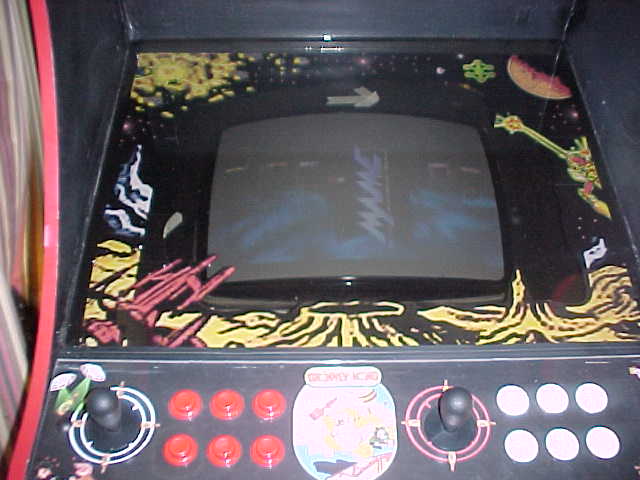
The monitor bezel
artwork was made by Gerald,
with the graphics coming from a very blurry and small image of Space Invaders, and a few good quality flyers for some old games. It's a bit hard to see, but that's the "MAME Video" running on the monitor :) |

(Click for a larger view) |

(Click for a larger view) |

(Click for a larger view) |
|
|
||

(Click for a larger view) |
(Click for a larger view) |
|
|
|
||
![]()
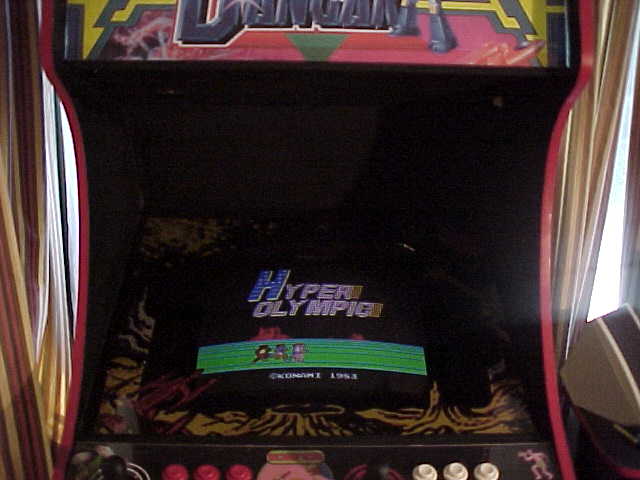
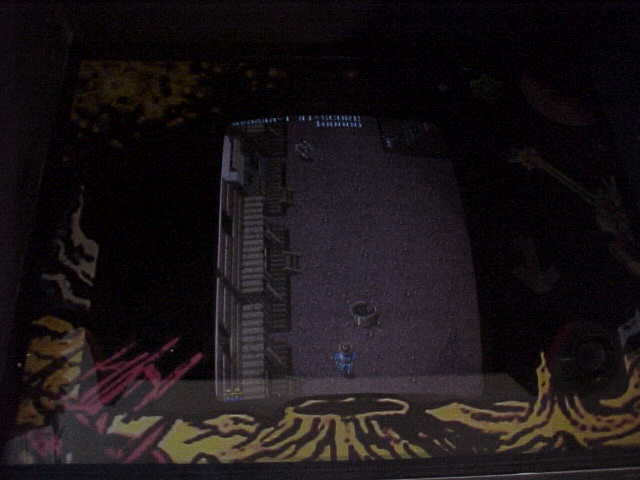
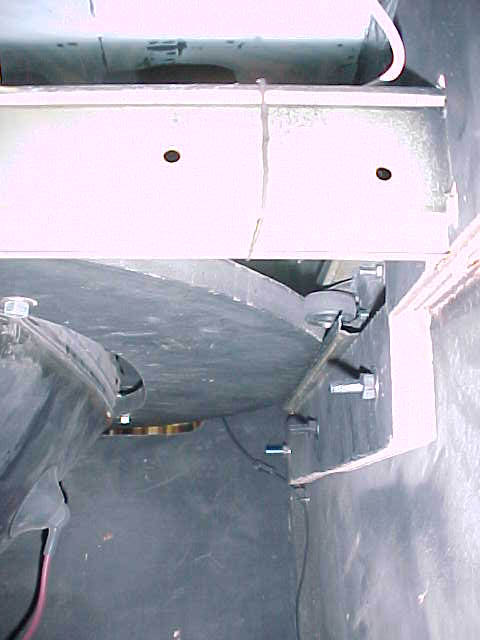
The Monitor
One of the slicker things about
this project is the rotating monitor - and it's easy as can be to rotate...
(Click for a larger view) |
(Click for a larger view) |
|
|
|
||
(Click for a larger view) |
(Click for a larger view) |
(Click for a larger view) |
|
|
||
![]()
Lights... Sound... Action!
On to the top of the cabinet
...
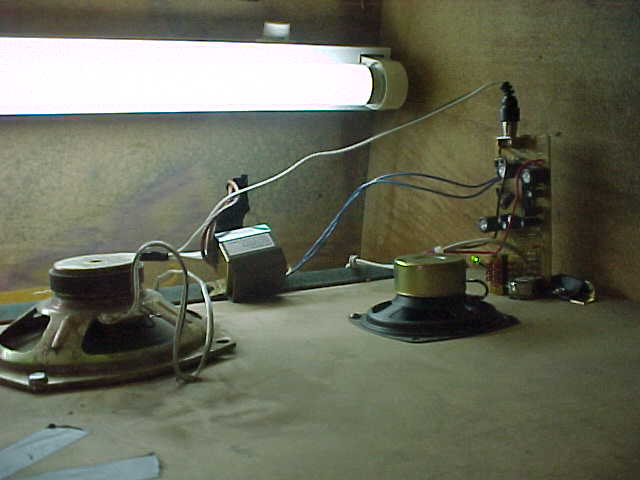
| Here's the audio setup,
behind the top marquee.
The speakers were cheap computer speakers, completely disassembled. Notice that the PCB of the amplifier is stuck on the wood, and the audio controls can be used from the other side. Also, Gerald used a fluorescent lamp to illuminate the top marquee. |
(Click for a larger view) |
![]()
On to the wiring!
Gerald used a variety of techniques
to wire up his cabinet . . .
(Click for a larger view) |
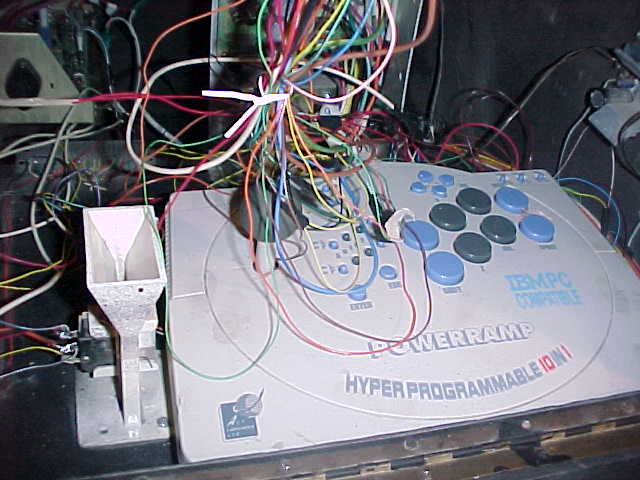
For the maintenance buttons and the second player controls, Gerald used a hacked PowerRamp. One nice touch is that the coin slot is fully functional via the PowerRamp as well. |
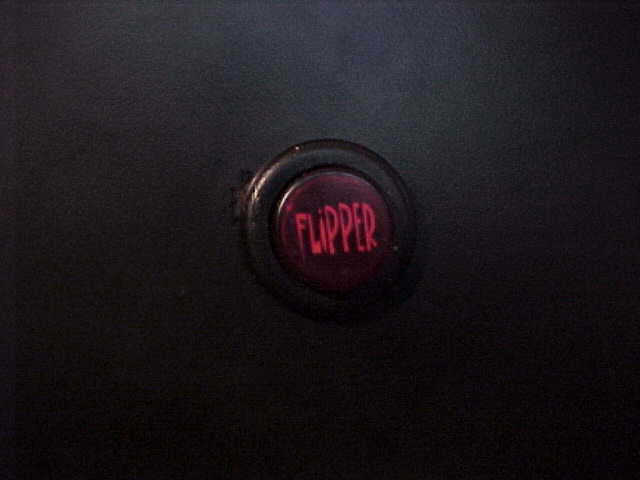
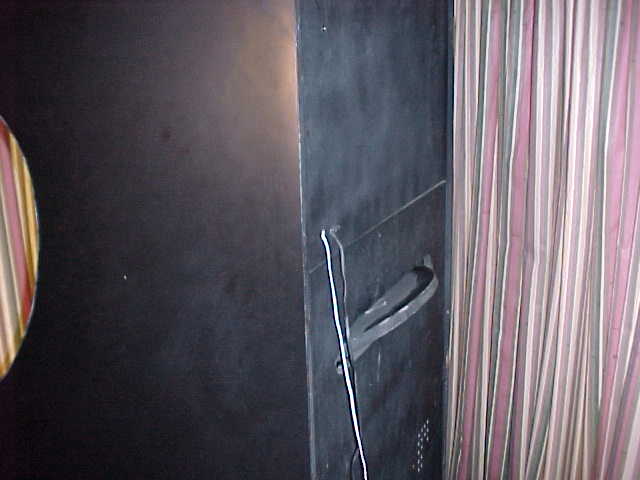
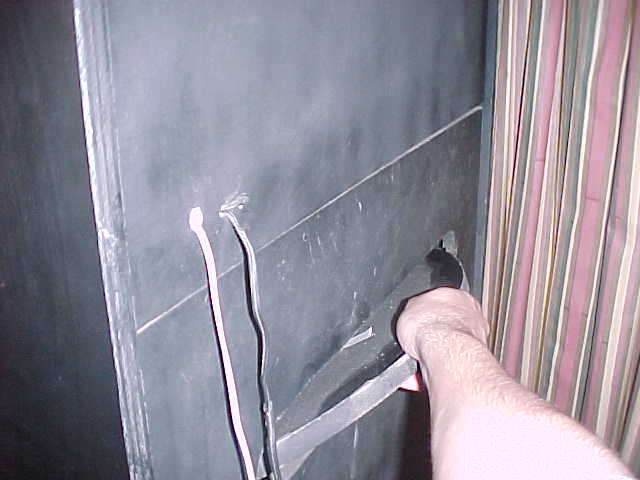
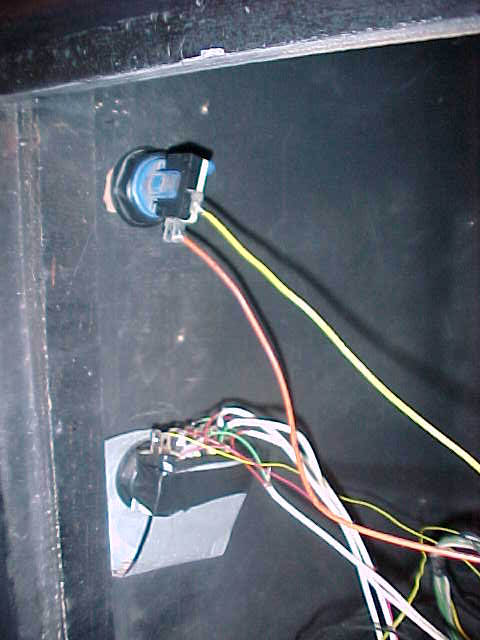
| A problem Gerald had
with his system was a bit of flakiness with the monitor. Whenever
the resolution changed, the picture went out of sync, with lots of diagonal
lines. (The monitor was a 15 year old monitor).
The workaround was to unplug/replug the VGA cable from the PC - not terribly elegant. Instead, Gerald made a "reset" button consisting of 5 microswitches connecting the input wires. When you press the button it disconnects the 5 wires of the vga input and reconnects when you release the button. |
(Click for a larger view) |
(Click for a larger view) |
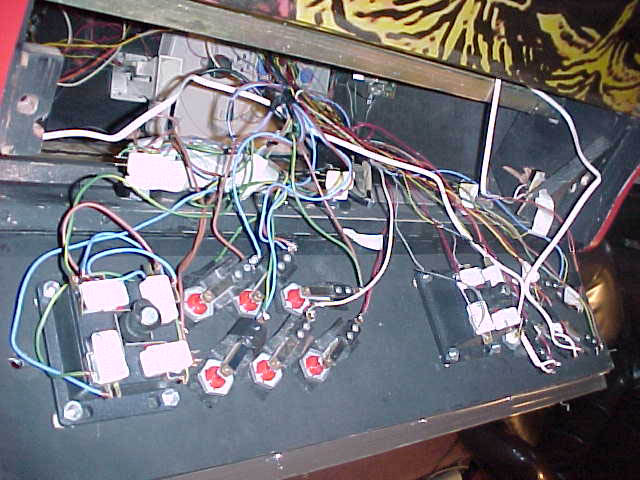
Spaghetti time. This is a shot of the underside of the control panel. Notice leaf based pushbuttons, which Gerald prefers over microswitch. |
| For the player one controls, a simple $6 gamepad was hacked. | 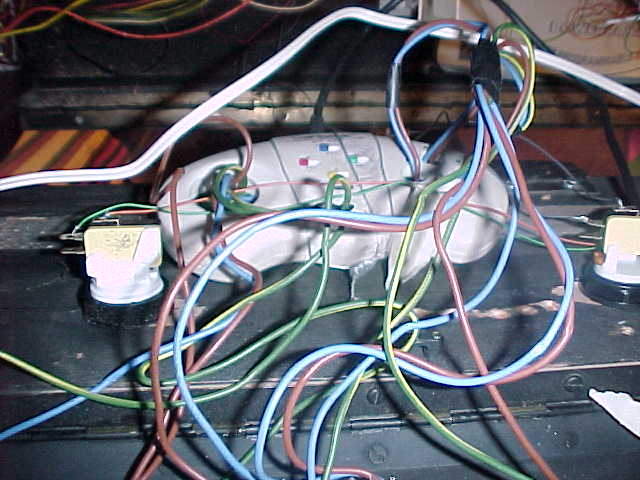
(Click for a larger view) |
![]()
The finish line!
Another interesting thing about this cabinet is that it has two video cards, and he chooses which one is active in the BIOS of the PC. The second video card is an ATI ProTurbo with Mach64 chipset, and that's the one connected to the arcade monitor. When the PC boots, there's a menu that lets you select between Windows or MAME. This way he retains full functionality of the PC, which is outside the cabinet (using a Voodoo 3 3000 card with regular monitor).
By the way, all the artwork for this project was printed using Poster software. Also, Gerald ordered two of the $4 trackballs but never received them (from CTRsurplus) so a bit of buyer beware is in order.
All in all a very nice project,
thanks for passing this our way! Gerald's hoping for feedback on
the project, so be sure to drop
him a line :)