(Click for a larger view)
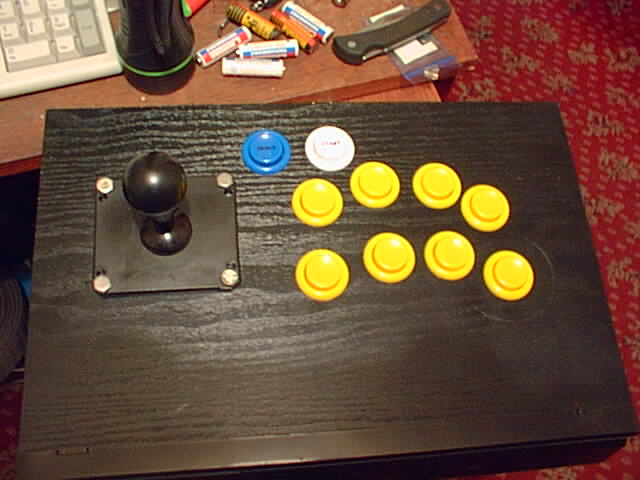
I think this one gets the most unique console controller award :) Caveman took a regular cassette deck holder, hacked it apart and made a fairly cool PSX pad hack. Well done Caveman!
(Click for a larger view)
![]()
This is a PSX pad hack,
connected to the PC via DirectPad
Pro, so it can be used with MAME and with PSX games. All the
arcade materials came from Swallow
Amusements.
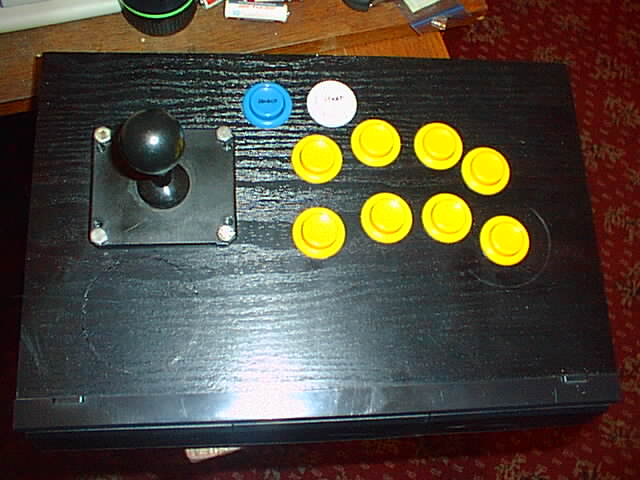
| The controls are a
used 8-way microswitch joystick and ten microswitch buttons. I used
a CD-writing pen to write on the SELECT and START buttons. The rest
of the buttons are mapped out like this:
L1, Square, Triangle, R1 L2, Cross, Circle, R2 |
(Click for a larger view) |

(Click for a larger view) |
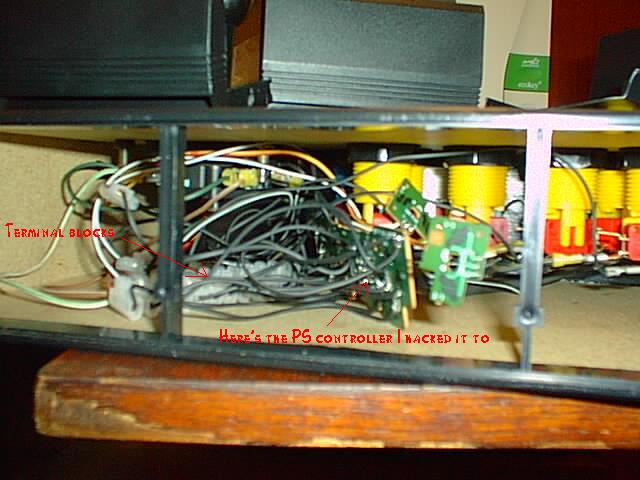
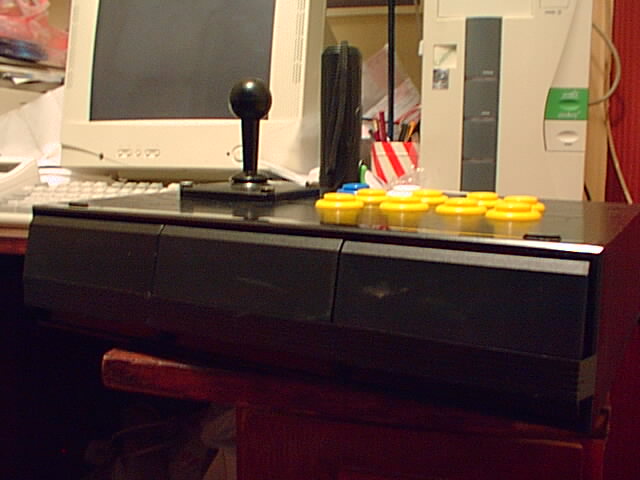
First I wired the switches up together using the common ground, then I soldered this loom to the PS pad, without any actual switch wires. Only the common ground was soldered onto the PS pad right then. I knew this was going to give me trouble since while everybody else's control panel housings are made for that purpose and built around the joystick and buttons, mine used to be a cassette rack, and as such it was going to be hard to wire everything up while I could only get to all the internal stuff from one side. |
|
||
| I made the loom with switches as described above, wired the switch wires to the PS pad and screwed those wires into terminal blocks. Then came the part that really irritated me - wrestling it all into position and clipping the buttons onto the switches. |
This control panel
represents my first attempt at soldering. So I thought I wasn't going
to be any good at it. I needed to remove a wire from the PS pad,
and while I knew you should really melt the solder and then gently slide
it off, I reasoned that my soldering couldn't be that good.
I underestimated my
own soldering skills, and simply took the wire in one hand and the PS pad
in the other and pulled . . .
And ripped half the trace off the board.
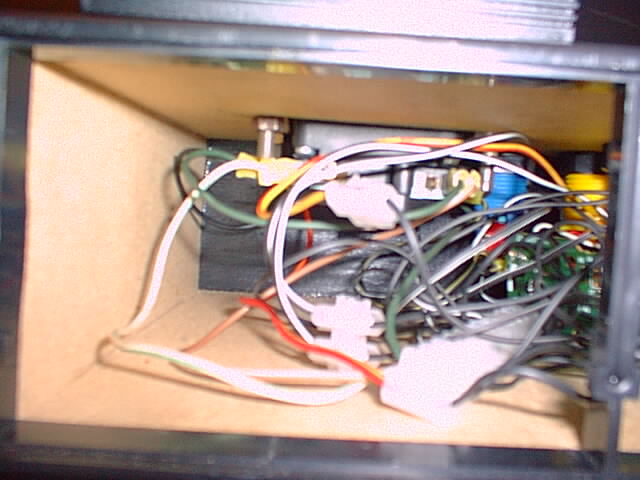
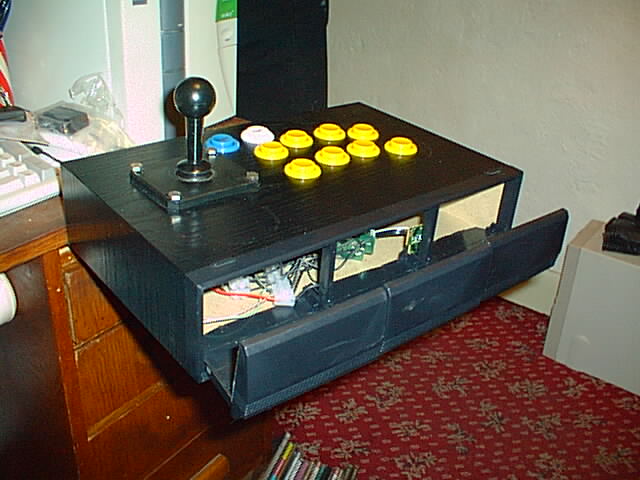
A week later I had found another PS pad, and I could start work again. I wired up the joystick and bolted it into position. Then I started wrestling the rest of the loom into place, clipping the microswitches onto the buttons. Wrenching several wires out of their spade connectors in the process, of course. Eventually I got it sorted.
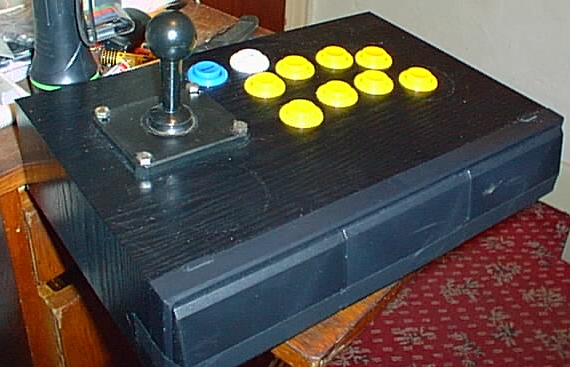
And here it is!
I'd like to thank everybody on the message board, and everybody who
contributed to the
FAQ, for their help.
--- Caveman Joe
(Click for a larger view) |
(Click for a larger view) |

(Click for a larger view) |
(Click for a larger view) |